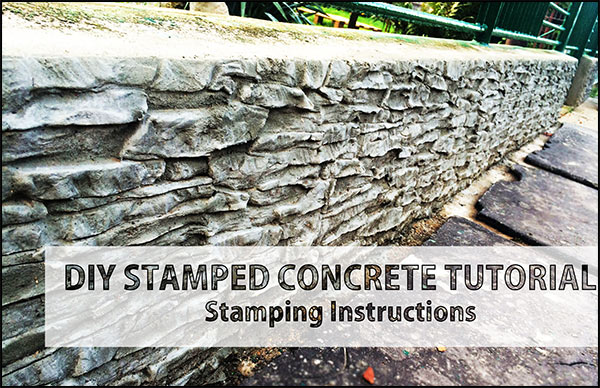
The instructions for stamping with silicone stamps from verticalstamps.com are very simple.
Everybody can do it.
First, we must select a favorite silicone stamp pattern. After, we need to choose the material (mixture) for stamping. We can choose indoors or outdoors tile adhesive or concrete mix plaster (like a flexible frost resistant mixture of C2TE tile adhesive, or similiar concrete mix).
How to use your silicone STAMP
- Roll on primer on application substrate (if is necessary)
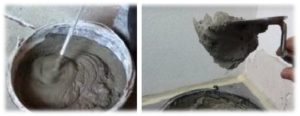
Mix [wall tile adhesive (C2TE), plaster, or some kind of concrete mix plaster] with water. Use frost resistant tile adhesive if necessary. Rather add less water than more into. Mix it by hand or slow speed electric drill mixer. Leave the mix for 5-10 minutes and remix before use.

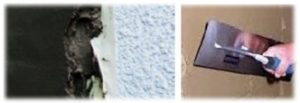
- Apply the layer of (tile adhesive, plaster…) to the required thickness which corresponding to choice of STAMP design.
- Use trowel to finish the surface.

- Wait some time until the flexi glue starts to harden. The hardening time depends on current temperature of the environment.
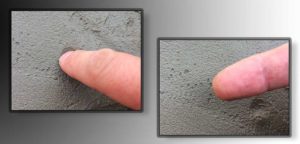
- If freshly applied tile adhesive or concrete mix doesn`t stick to your DRY thumb – It`s ready to STAMP.

!! IMPORTANT !!
Before each stamping with your silicone stamp, you need to put the silicone stamp into the water with small amount of liquid dishwashing detergent (it`s also working as a liquid release agent) and then clean the stamp from dirt.

- Use your STAMP for stamping textures
(To avoid texture repeating – you can sometimes rotate STAMP by 180 degrees)
Clean the STAMP in water with liquid dishwashing => use the STAMP => water with liquid dishwashing – clean the stamp from dirt => use the STAMP => water with liquid dishwashing – clean the stamp from dirt => use the STAMP => water with liquid dishwashing – clean the stamp from dirt => use the STAMP => water with liquid dishwashing – clean the stamp from dirt => use the STAMP => water with liquid dishwashing – clean the stamp from dirt => etc.

- At the end, you can repair any imperfections (with modeling tools, venetian plaster spatula, paint brush or similiar tools)
- When is stamped concrete pattern dry, you can use concrete sealer or acrylic facade paint.
SOME TIPS
- Carve your joints, using your venetian plaster spatula, carving loop tool or similar tool, if necessary.
- Apply the base color and wait until it dries.
- Apply the secondary effect colors if you want.
- Wipe off to blend colors for a more realistic finish.
- Apply the final water based sealer on pattern to insure the longevity and also to prevent water absorption on all mineral structured surfaces.
Videos from Stamped Concrete Work for some INSPIRATION
———
Small Garden Fence Renovation with stamped concrete. Pattern: SEVILLE
House Stone siding improvement with our silicone stamp for stamped concrete BOSTON I
Wall around front door DIY improvement with stone pattern SEVILLE
In our blog can find many interesting posts, tutorials and processes, which might interest you.
VerticalStamps.com – silicone stamps for stmped concrete